「実写のキャラクターの画像をAIで自動生成したい」
「手などの細かい描画を上手く行うモデルを探している」
このような場合には、Protogen x3.4がオススメです。
この記事では、キャラの実写に強いProtogen x3.4について解説しています。
本記事の内容
- Protogen x3.4とは?
- Protogen x3.4の利用方法
それでは、上記に沿って解説していきます。
Protogen x3.4とは?
Protogen x3.4とは、Stable Diffusion用のモデルです。
ベースは、Stable Diffusion v1-5となります。
Protogenはバージョン管理されています。
前回のバージョンは、Protogen v2.2となります。
表記については、気になりますが無視しましょう。
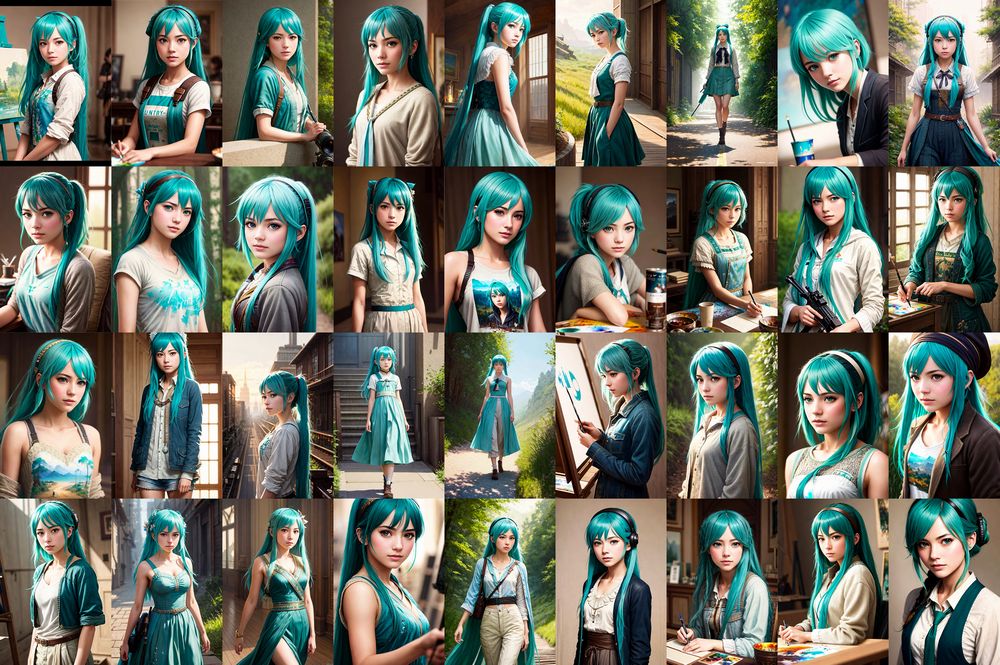
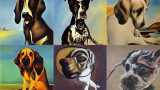
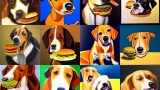
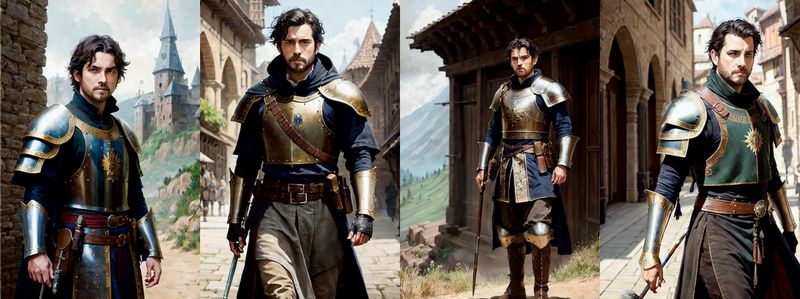
そして、Protogen x3.4で作成された画像として以下画像が公開されています。
実写よりのキャラクターに強いという特徴があります。
これは、Protogen x3.4が以下モデルを結合して作成されているからでしょう。
- roboDiffusion_v1.ckpt
- openjourney-v2-unpruned.ckpt
- analog-diffusion-1.0.ckpt
- rpg_v2Beta.ckpt
Analog Diffusionについては、当サイトでも紹介しています。

中世ヨーロッパ的な雰囲気は、RPG要素の強いモデルの影響があるからでしょうね。
あと、「手」などの細かい描画部分も上手く表現することができるようです。
なお、Protogen x3.4はCivitai上での公開がメインと思われます。
Protogen x3.4 Official Release | Civitai
https://civitai.com/models/3666/protogen-x34-official-release
Civitaiについては、次の記事で説明しています。
上記の公式ページで、Protogen x3.4で生成したサンプル画像やユーザーの投稿を確認できます。
以上、Protogen x3.4を説明しました。
次は、Protogen x3.4の利用方法を説明します。
Protogen x3.4の利用方法
Stable Diffusionを動かせる環境が、大前提となります。
Google Colabではなくローカル環境で動かす場合は、次の記事が参考になります。
上記記事に従えば、自ずとDiffusersをインストールすることになります。
この記事では、Diffusersでの利用を対象としています。
Stable Diffusion web UI(AUTOMATIC1111版)だと、ここで説明する必要がありません。
まずは、モデルのダウンロードを行いましょう。
ダウンロードは、Hugging Face上のページから行います。
darkstorm2150/Protogen_x3.4_Official_Release at main
https://huggingface.co/darkstorm2150/Protogen_x3.4_Official_Release/tree/main
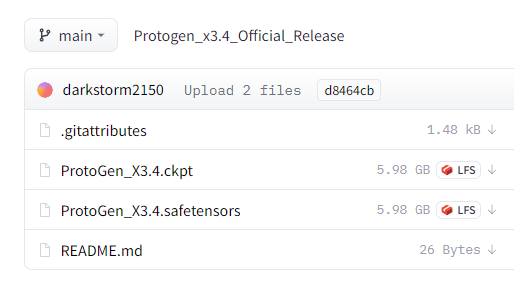
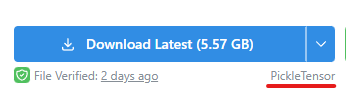
公式的な扱いのCivitai上では、Pickle形式のみの配布となります。
Hugging Face上では、Safetensor形式も配布されています。
セキュリティを意識するなら、Safetensor形式の方が良いと言えます。
ただ、ここは各自の判断に任せます。
両方の形式に対応した、変換方法を載せておきます。
Pickle形式

Safetensor形式

ちなみに、私は次のコマンドを用いました。
python convert_diffusers20_original_sd.py ..\..\ckpt\ProtoGen_X3.4.safetensors ..\..\model\pro34 --v1 --reference_model runwayml/stable-diffusion-v1-5
Safetensor形式をダウンロードして、Diffusersモデルに変換しています。
では、変換できたモデルを利用してみましょう。
コードは、以下。
from diffusers import StableDiffusionPipeline, KDPM2AncestralDiscreteScheduler

model_id = "./model/pro34"
device = "cuda"

pipe = StableDiffusionPipeline.from_pretrained(model_id, custom_pipeline="lpw_stable_diffusion")
pipe.scheduler = KDPM2AncestralDiscreteScheduler.from_config(pipe.scheduler.config)
pipe = pipe.to(device)

prompt = "modelshoot style, (extremely detailed CG unity 8k wallpaper), full shot body photo of the most beautiful artwork in the world, medieval armor, professional majestic oil painting by Ed Blinkey, Atey Ghailan, Studio Ghibli, by Jeremy Mann, Greg Manchess, Antonio Moro, trending on ArtStation, trending on CGSociety, Intricate, High Detail, Sharp focus, dramatic, photorealistic painting art by midjourney and greg rutkowski"
negative_prompt = "canvas frame, cartoon, 3d, ((disfigured)), ((bad art)), ((deformed)),((extra limbs)),((close up)),((b&w)), wierd colors, blurry, (((duplicate))), ((morbid)), ((mutilated)), [out of frame], extra fingers, mutated hands, ((poorly drawn hands)), ((poorly drawn face)), (((mutation))), (((deformed))), ((ugly)), blurry, ((bad anatomy)), (((bad proportions))), ((extra limbs)), cloned face, (((disfigured))), out of frame, ugly, extra limbs, (bad anatomy), gross proportions, (malformed limbs), ((missing arms)), ((missing legs)), (((extra arms))), (((extra legs))), mutated hands, (fused fingers), (too many fingers), (((long neck))), Photoshop, video game, ugly, tiling, poorly drawn hands, poorly drawn feet, poorly drawn face, out of frame, mutation, mutated, extra limbs, extra legs, extra arms, disfigured, deformed, cross-eye, body out of frame, blurry, bad art, bad anatomy, 3d render"

image = pipe(
    prompt,
    num_inference_steps=30,
    guidance_scale=10,
    width=512,
    height=768,
    negative_prompt=negative_prompt,
    max_embeddings_multiples=2
).images[0]

image.save("test.png")
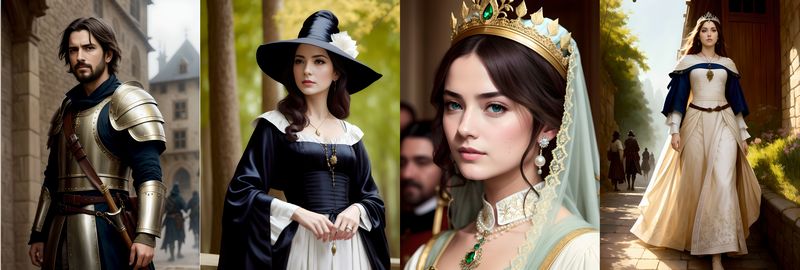
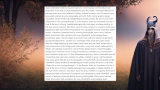
上記を実行すると、次のような画像が生成されます。
なお、プロンプトなどは公式の投稿を参考にしています。
Civitai上の公式ページの画像には、「i」と付いているモノがあります。
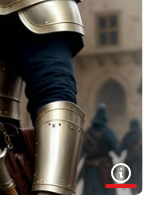
これをクリックすると、次のような情報が表示されます。
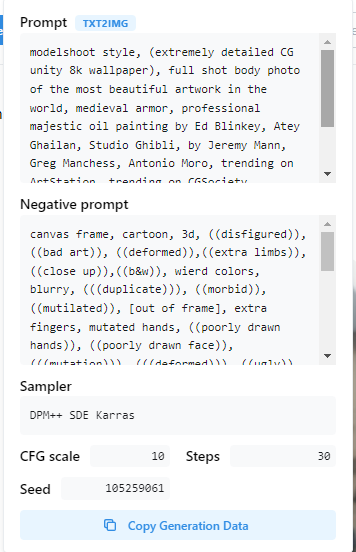
「Copy Generation Data」をクリックすれば、テキストをコピーできます。
ユーザー投稿などを参考にすることも可能です。
また、プロンプトが長いため「lpw_stable_diffusion」を利用しています。
この辺については、次の記事で解説しています。
以上、Protogen x3.4の利用方法を説明しました。