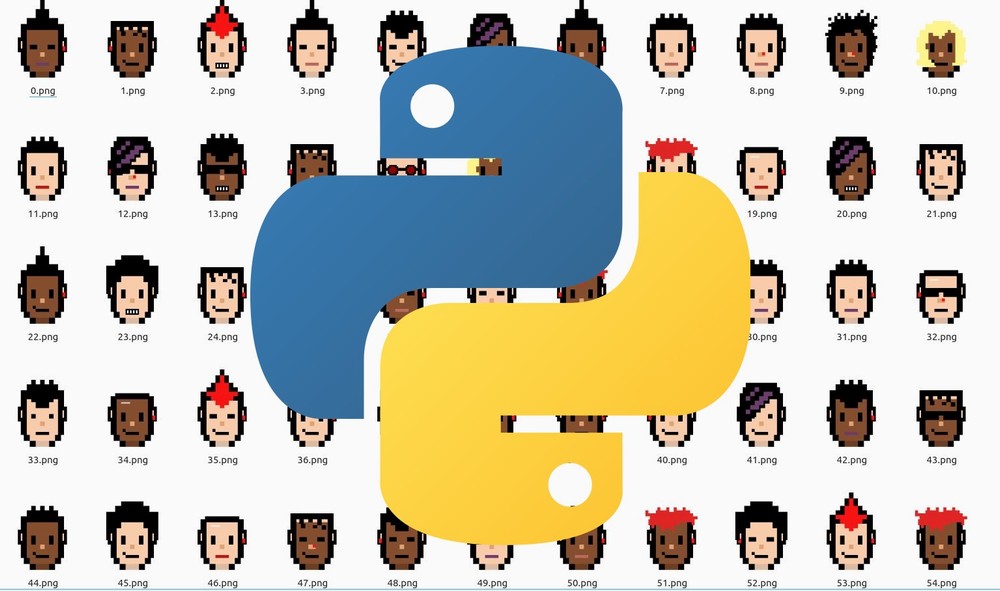
こんなアイコンを見たことがありませんか?
NFTと言えば、このようなピクセルアートです。
この記事では、このようなピクセルアートを自動で作成する方法を解説しています。
Pythonを使って、何パターンも作成します。
本記事の内容
- ピクセルアート自動作成について
- ピクセルアート自動作成のシステム要件
- ピクセルアート自動作成の実行
それでは、上記に沿って解説していきます。
ピクセルアート自動作成について
Pythonを利用して、ピクセルアートを自動的に作成します。
ただ、ゼロの状態から作成するわけではありません。

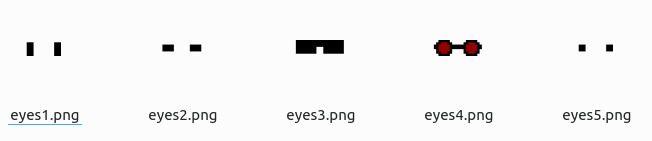
このようなピクセルアートは、各パーツを組み合わせて作成します。
以下では、目と髪をピックアップしています。
目の部品
髪の部品
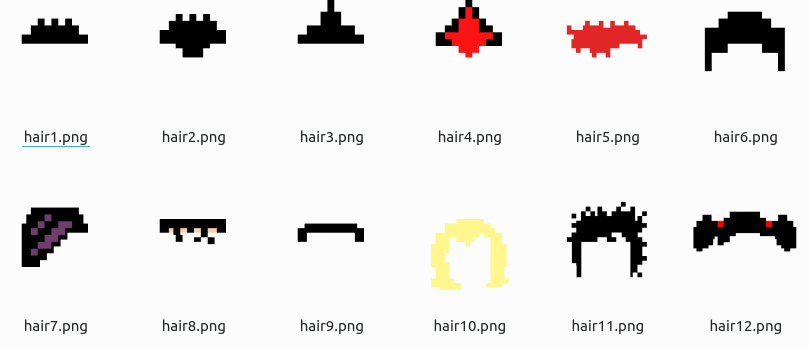
このようなパーツを用意したら、あとはプログラムで組み合わせるだけです。
GitHub上では、すでにこのようなプログラムが公開されています。
SubstraPunks
https://github.com/UniqueNetwork/substrapunks
上記プロジェクトは、Node.jsで動きます。
Node.jsについては、次の記事で説明しています。

別にNode.jsで動かしても構いません。
しかし、個人的にはPythonをメインで触っています。
そのため、今後の拡張を考えたらPythonで動かしたいところです。
もちろん、私以外にもこう考える人はいます。
今回は、その方のコードを利用させてもらいます。
と言っても、結構改良しています。
コードの説明の前に、システム要件から説明します。
ピクセルアート自動作成のシステム要件
サポートOSに関しては、以下を含むクロスプラットフォーム対応です。
- Windows
- macOS
- Linux
OSは、Pythonが動けば何でもOKと言えます。
重要なポイントは、次の3つです。
- Python 3.7以降
- Pillow
- PyYAML
それぞれを下記で説明します。
Python 3.7以降
以下は、Pythonの公式開発サイクルです。
| バージョン | リリース日 | サポート期限 |
| 3.6 | 2016年12月23日 | 2021年12月23日 |
| 3.7 | 2018年6月27日 | 2023年6月27日 |
| 3.8 | 2019年10月14日 | 2024年10月 |
| 3.9 | 2020年10月5日 | 2025年10月 |
| 3.10 | 2021年10月4日 | 2026年10月 |
すでにPython 3.6はサポート期限が切れています。
そのため、Python 3.6を利用するのはやめましょう。
今なら、Python 3.10系の利用をオススメします。
すでにPython 3.10系は安心して利用できるようになっています。

最近では、Python 3.10.2が公開されています。

Pillow
ピクセルアート自動作成では、画像の加工がメインです。
その際に、Pillowをライブラリとして利用します。
Pillowについては、次の記事で説明しています。

インストールする場合は、上記の記事を参考にしてください。
PyYAML
PyYAMLは、YAMLファイルを扱うために利用しています。
インストール方法含めて、次の記事でまとめています。

まとめ
参考にしたコードを整理する上で、設定を別ファイルにしています。
メンテナンス性を上げるために、PyYAMLを利用しているということです。
何か複雑なことに思えるかもしれませんが、全然簡単です。
ソースや設定ファイルを見たら、安心するでしょう。
以上、ピクセルアート自動作成のシステム要件を説明しました。
次は、ピクセルアート自動作成を実行します。
ピクセルアート自動作成の実行
まず、顔の各パーツの画像を用意する必要があります。
上記で挙げたSubstraPunksのページから取得します。
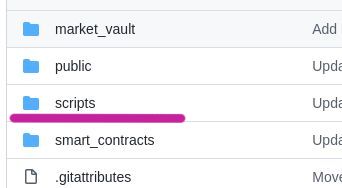
script以下を丸ごと取得しましょう。
設置場所は。後述するプログラムや設定ファイルと同じ階層に設置します。
設定ファイルは、2つあります。
- trait.json
- trait.yaml
そして、メインとなるコードは以下。
from PIL import Image
import random
import json
import os
import yaml

# 作成画像数
TOTAL_IMAGES = 100
# 出力先ディレクトリ
OUTPUT_DIR = "output"

# 特徴画像の設定
json_open = open('trait.json', 'r')
json_load = json.load(json_open)
face_files = json_load["face_files"]
ears_files = json_load["ears_files"]
eyes_files = json_load["eyes_files"]
hair_files = json_load["hair_files"]
mouth_files = json_load["mouth_files"]
nose_files = json_load["nose_files"]

# 各パーツ毎の出現比率
with open("trait.yaml") as data:
    yaml_obj = yaml.safe_load(data)

    face = yaml_obj["face"][0]
    face_weights = yaml_obj["face"][1]

    ears = yaml_obj["ears"][0]
    ears_weights = yaml_obj["ears"][1]

    eyes = yaml_obj["eyes"][0]
    eyes_weights = yaml_obj["eyes"][1]

    hair = yaml_obj["hair"][0]
    hair_weights = yaml_obj["hair"][1]

    mouth = yaml_obj["mouth"][0]
    mouth_weights = yaml_obj["mouth"][1]

    nose = yaml_obj["nose"][0]
    nose_weights = yaml_obj["nose"][1]

## Generate Traits
all_images = []

# A recursive function to generate unique image combinations
def create_new_image():
    new_image = {}  #

    # For each trait category, select a random trait based on the weightings
    new_image["Face"] = random.choices(face, face_weights)[0]
    new_image["Ears"] = random.choices(ears, ears_weights)[0]
    new_image["Eyes"] = random.choices(eyes, eyes_weights)[0]
    new_image["Hair"] = random.choices(hair, hair_weights)[0]
    new_image["Mouth"] = random.choices(mouth, mouth_weights)[0]
    new_image["Nose"] = random.choices(nose, nose_weights)[0]

    if new_image in all_images:
        return create_new_image()
    else:
        return new_image


# Generate the unique combinations based on trait weightings
for i in range(TOTAL_IMAGES):
    new_trait_image = create_new_image()

    all_images.append(new_trait_image)


# Returns true if all images are unique
def all_images_unique(all_images):
    seen = list()
    return not any(i in seen or seen.append(i) for i in all_images)


print("Are all images unique?", all_images_unique(all_images))
# Add token Id to each image
i = 0
for item in all_images:
    item["tokenId"] = i
    i = i + 1

print(all_images)

# Get Trait Counts

face_count = {}
for item in face:
    face_count[item] = 0

ears_count = {}
for item in ears:
    ears_count[item] = 0

eyes_count = {}
for item in eyes:
    eyes_count[item] = 0

hair_count = {}
for item in hair:
    hair_count[item] = 0

mouth_count = {}
for item in mouth:
    mouth_count[item] = 0

nose_count = {}
for item in nose:
    nose_count[item] = 0

for image in all_images:
    face_count[image["Face"]] += 1
    ears_count[image["Ears"]] += 1
    eyes_count[image["Eyes"]] += 1
    hair_count[image["Hair"]] += 1
    mouth_count[image["Mouth"]] += 1
    nose_count[image["Nose"]] += 1

print(face_count)
print(ears_count)
print(eyes_count)
print(hair_count)
print(mouth_count)
print(nose_count)

#### Generate Images
# 上書き
os.makedirs(OUTPUT_DIR, exist_ok=True)

for item in all_images:
    im1 = Image.open(f'./scripts/face_parts/face/{face_files[item["Face"]]}.png').convert('RGBA')
    im2 = Image.open(f'./scripts/face_parts/eyes/{eyes_files[item["Eyes"]]}.png').convert('RGBA')
    im3 = Image.open(f'./scripts/face_parts/ears/{ears_files[item["Ears"]]}.png').convert('RGBA')
    im4 = Image.open(f'./scripts/face_parts/hair/{hair_files[item["Hair"]]}.png').convert('RGBA')
    im5 = Image.open(f'./scripts/face_parts/mouth/{mouth_files[item["Mouth"]]}.png').convert('RGBA')
    im6 = Image.open(f'./scripts/face_parts/nose/{nose_files[item["Nose"]]}.png').convert('RGBA')

    # Create each composite
    com1 = Image.alpha_composite(im1, im2)
    com2 = Image.alpha_composite(com1, im3)
    com3 = Image.alpha_composite(com2, im4)
    com4 = Image.alpha_composite(com3, im5)
    com5 = Image.alpha_composite(com4, im6)

    # Convert to RGB
    # 背景をつける場合はコメント
    # rgb_im = com5.convert('RGB')
    rgb_im = com5
    file_name = str(item["tokenId"]) + ".png"
    rgb_im.save(OUTPUT_DIR + "/" + file_name)
設定ファイルは、以下となります。
trait.json
{
    "face_files": {
        "White": "face1",
        "Black": "face2"
    },
    "ears_files": {
        "No Earring": "ears1",
        "Left Earring": "ears2",
        "Right Earring": "ears3",
        "Two Earrings": "ears4"
    },
    "eyes_files": {
        "Regular": "eyes1",
        "Small": "eyes2",
        "Rayban": "eyes3",
        "Hipster": "eyes4",
        "Focused": "eyes5"
    },
    "hair_files": {
        "Up Hair": "hair1",
        "Down Hair": "hair2",
        "Mohawk": "hair3",
        "Red Mohawk": "hair4",
        "Orange Hair": "hair5",
        "Bubble Hair": "hair6",
        "Emo Hair": "hair7",
        "Thin Hair": "hair8",
        "Bald": "hair9",
        "Blonde Hair": "hair10",
        "Caret Hair": "hair11",
        "Pony Tails": "hair12"
    },
    "mouth_files": {
        "Black Lipstick": "m1",
        "Red Lipstick": "m2",
        "Big Smile": "m3",
        "Smile": "m4",
        "Teeth Smile": "m5",
        "Purple Lipstick": "m6"
    },
    "nose_files": {
        "Nose": "n1",
        "Nose Ring": "n2"
    }
}
trait.yaml
# 合算して100になるように値を設定する
face:
- ["White", "Black"]
- [60, 40]
ears:
- ["No Earring", "Left Earring", "Right Earring", "Two Earrings"]
- [25, 30, 44, 1]
eyes:
- ["Regular", "Small", "Rayban", "Hipster", "Focused"]
- [70, 10, 5, 1, 14]
hair:
- [ 'Up Hair', 'Down Hair', 'Mohawk', 'Red Mohawk', 'Orange Hair', 'Bubble Hair', 'Emo Hair','Thin Hair','Bald','Blonde Hair','Caret Hair','Pony Tails' ]
- [10, 10, 10, 10, 10, 10, 10, 10, 10, 7, 1, 2]
mouth:
- ['Black Lipstick', 'Red Lipstick', 'Big Smile', 'Smile', 'Teeth Smile', 'Purple Lipstick']
- [10, 10, 50, 10, 15, 5]
nose:
- ['Nose', 'Nose Ring']
- [90, 10]
コードは、コピペで動くようにしています。
コードの詳細は、各自で追ってください。
やっていることは簡単です。
各パーツの画像をランダムに組み合わせているだけです。
そして、その組み合わせが同じモノにならないように工夫しています。
基本は、参考にしたコードをそのまま利用しています。
ただ、設定を外だしにして改良しています。
毎回、コードを触るのは嫌ですからね。
準備ができたら、プログラムを実行しましょう。
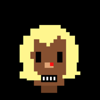
問題なく実行できたら、同じ階層上にoutputディレクトリができています。
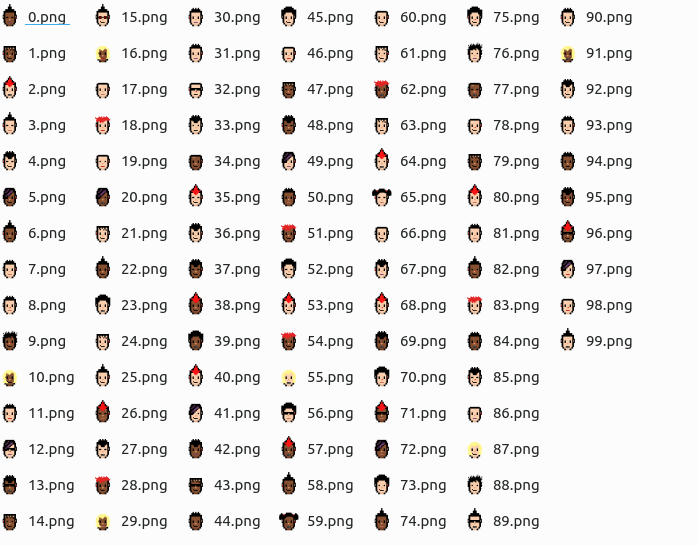
コードで指定した数だけのピクセルアートが自動で作成されています。
# 作成画像数
TOTAL_IMAGES = 100
Pythonに慣れていれば、ここまでは簡単だったと思います。
ただ、これはスタートに過ぎません。
このままだと何も面白くありません。
顔の各パーツを自分で用意してこそ、面白くなります。
以上、ピクセルアート自動作成の実行を説明しました。