「肖像画のように見えるモデルを探している」
「絵画のような画像を生成したい」
このような場合には、DreamShaperがオススメです。
この記事では、DreamShaperについて解説しています。
本記事の内容
- DreamShaperとは?
- DreamShaperの利用方法
それでは、上記に沿って解説していきます。
DreamShaperとは?
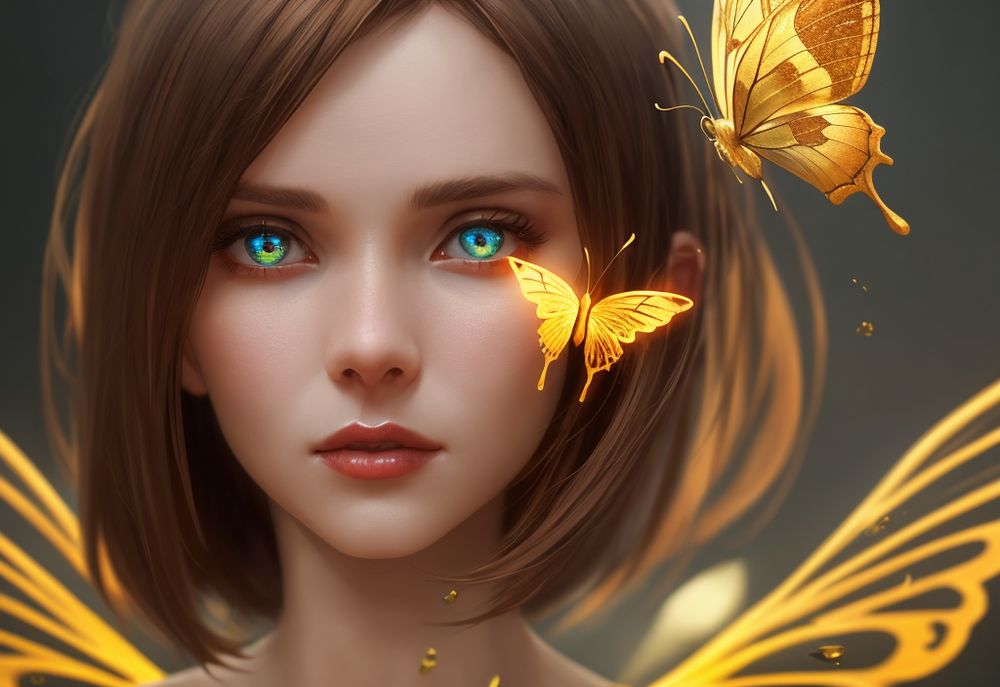
DreamShaperは、絵画の肖像画を描くことを目標として始まったモデルになります。
モデル開発者曰く、その目標には到達できたということです。
改良を重ねた結果として、風景やアニメキャラも生成できるようになっています。
やはり、学習素材を増やしていくと何でも生成できるようになっていくのでしょうね。
それでも、DreamShaperの特徴は肖像画と言えます。
実際、Civitai上の公式ページではそのような画像が掲載されています。
DreamShaper | Stable Diffusion Checkpoint | Civitai
https://civitai.com/models/4384/dreamshaper

また、現時点ではバージョンが4になっています。
そして、モデル開発者は今後もバージョンアップは継続していくようです。
このV4に関しては、VAEがモデルに焼き込まれています。
そのため、VAEを別途読み込む必要はありません。
以上、DreamShaperについて説明しました。
次は、DreamShaperの利用方法を説明します。
DreamShaperの利用方法
DreamShaperは、主に以下の環境で動かすことになります。
- Stable Diffusion web UI(AUTOMATIC1111版)
- Diffusers
それぞれの場合を以下で説明します。
Stable Diffusion web UI(AUTOMATIC1111版)
web UIのインストール方法は、次の記事で説明しています。
まずは、モデルのダウンロードを行います。
モデルのダウンロードは、公式ページから可能です。

ダウンロードしたファイル(dreamshaper_4BakedVae.safetensors)は、models/Stable-diffusion以下に保存。
あとは、web UIを起動すれば次のようにモデルを選択できるようになっています。

Diffusers
Stable DiffusionをDiffusersで動かす必要があります。
Stable Diffusionを動かす過程で、自ずとDiffusersをインストールすることになります。
DreamShaperでは、Diffusers用のモデルが用意されています。
そのため、モデルの読み込みに関しては次のコードを実行するだけです。
from diffusers import StableDiffusionPipeline, EulerAncestralDiscreteScheduler

model_id = "Lykon/DreamShaper"
pipe = StableDiffusionPipeline.from_pretrained(model_id, custom_pipeline="lpw_stable_diffusion")
pipe.scheduler = EulerAncestralDiscreteScheduler.from_config(pipe.scheduler.config)
pipe = pipe.to("cuda")

prompt = "8k portrait of beautiful cyborg with brown hair, intricate, elegant, highly detailed, majestic, digital photography, art by artgerm and ruan jia and greg rutkowski surreal painting gold butterfly filigree, broken glass, (masterpiece, sidelighting, finely detailed beautiful eyes: 1.2), hdr"
negative_prompt = "canvas frame, cartoon, 3d, ((disfigured)), ((bad art)), ((deformed)),((extra limbs)),((close up)),((b&w)), wierd colors, blurry, (((duplicate))), ((morbid)), ((mutilated)), [out of frame], extra fingers, mutated hands, ((poorly drawn hands)), ((poorly drawn face)), (((mutation))), (((deformed))), ((ugly)), blurry, ((bad anatomy)), (((bad proportions))), ((extra limbs)), cloned face, (((disfigured))), out of frame, ugly, extra limbs, (bad anatomy), gross proportions, (malformed limbs), ((missing arms)), ((missing legs)), (((extra arms))), (((extra legs))), mutated hands, (fused fingers), (too many fingers), (((long neck))), Photoshop, video game, ugly, tiling, poorly drawn hands, poorly drawn feet, poorly drawn face, out of frame, mutation, mutated, extra limbs, extra legs, extra arms, disfigured, deformed, cross-eye, body out of frame, blurry, bad art, bad anatomy, 3d render"

image = pipe(
    prompt,
    num_inference_steps=25,
    guidance_scale=7,
    width=512,
    height=512,
    max_embeddings_multiples=5,
    negative_prompt=negative_prompt
).images[0]

image.save("test.png")
上記コードを生成すると、次のような画像が生成されます。

明らかにオカシイですね。
何かしらアップロードされているモデルに問題があるのでしょう。
このような場合は、モデルをDiffusersで利用できるように自分で変換します。
まず、Civitai上の公式ページからファイル(dreamshaper_4BakedVae.safetensors)をダウンロードしましょう。
Safetensors形式ファイルの変換処理は、次の記事で解説しています。
今回は、次のコマンドで変換を行いました。
python convert_diffusers20_original_sd.py ..\..\ckpt\dreamshaper_4BakedVae.safetensors ..\..\model\dreamshaper_4BakedVae --v1 --reference_model runwayml/stable-diffusion-v1-5
変換に成功すると、次のようなディレクトリ・ファイルが作成されます。

これをパス指定で読み込みます。
先ほどのコードにおいて、以下のように変更します。
model_id = "./model/dreamshaper_4BakedVae"
変更後に実行すると、次のような画像が生成できます。

やはり、現時点(2023年3月19日)でHugging Face上のモデルは問題があるのでしょう。
以上、DreamShaperの利用方法を説明しました。


