「日本人女性を綺麗に描くモデルを探している」
「定番となりつつあるChilloutMix以外のモデルを探している」
このような場合には、BRAがオススメです。
この記事では、日本人女性を綺麗に描くモデルのBRAについて解説しています。
本記事の内容
- BRAとは?
- BRAの利用方法
- BRAの動作確認
それでは、上記に沿って解説していきます。
BRAとは?
「ChilloutMixの次はBRAが来るかも」
個人的には、このように感じています。

ChilloutMixは、まだまだその勢いが衰えません。
Civitaiにおいて、ChilloutMixは人気No.1のモデルです。
しかし、ChilloutMixはもうバージョンアップが行われません。
その辺の事情は、次の記事でも触れています。
このような状況のため、ChilloutMixに代わるモデルを探しています。
そして、BRAを見つけたということになります。
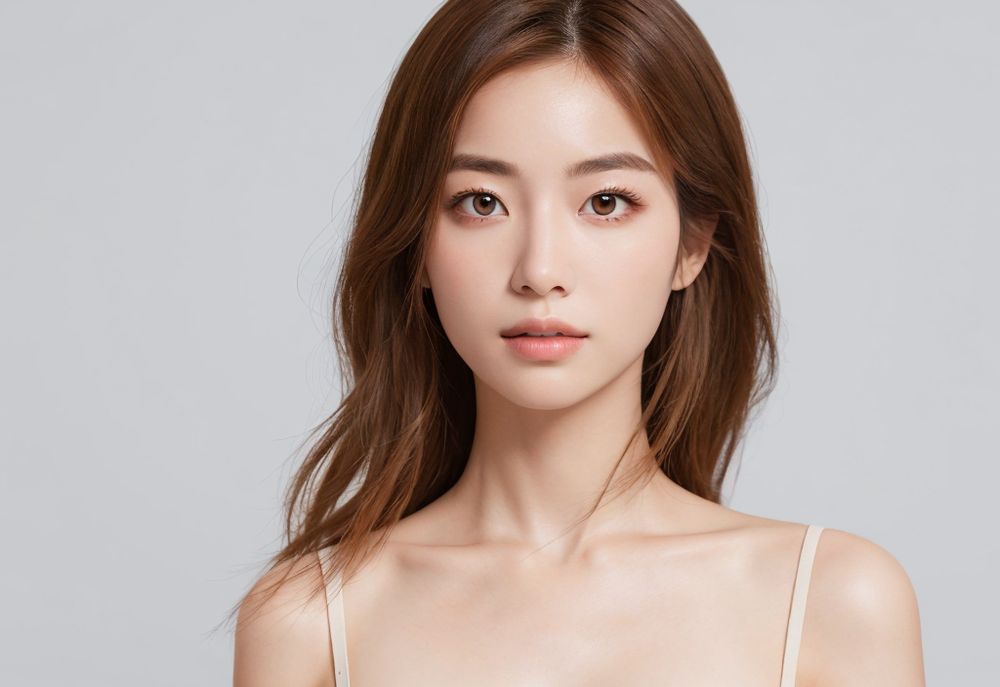
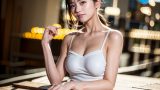
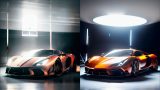
BRAの実力としては、次のような画像が簡単に生成できるレベルになります。
やはり、ChilloutMixとは違うテイストの画像ですね。

BRAとは、Beautiful Realistic Asiansの略称です。
アジア系の美女画像でトレーニングされたモデルになります。
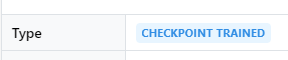
Civitai上でも、「CHECKPOINT TRAINED」と記載されています。
これがモデルを結合しただけのマージモデルであれば、次のように表示されます。

ちなみに、ChilloutMixはマージモデルになります。
そして、 BRAの学習に用いられた画像は6000枚以上ということです。
2か月の試行錯誤の末に、モデルを公開できるようになったとのこと。
執念にも似た、このような情熱は単純に素晴らしいと感じます。
その努力に対して、少しばかりのお礼をしておきました。
是非とも、今後のモデル開発に少しでも役立ててもらえればと思います。
また、学習時にはBLIPとWD(Waifu Diffusion)を利用したことが記載されています。
そのため、プロンプトはこれらを考慮して入力すればよいということです。


プロンプトの例として、以下が挙げられています。
Pretty asian in a black swimsuit leaning against a wall

Korean with long black hair wearing a red shirt and a red polka dot blouse with long black hair

a woman with long hair and a black top is posing for a picture with her hand on her chin, 1girl, solo, long_hair, looking_at_viewer, brown_hair, simple_background, black_hair, jewelry, earrings, necklace, lips, black_shirt, ring, realistic
確かに、BLIPで出力されそうなプロンプトです。
BLIP-2のGUIツールは、比較的に簡単にインストールできます。

プロンプトの作成には、このようなツールを利用するのもありかもしれません。
以上、BRAについて説明しました。
次は、BRAの利用方法を説明します。
BRAの利用方法

まずは、上記の公式ページからモデルをダウンロードします。
「Download」ボタンからダウンロードが可能です。

ダウンロードしたファイルは、以下となります。
「braBeautifulRealistic_brav3.ckpt」
ファイルを見ると、バージョン3になります。
しかし、ページ上のタイトルにはV2(バージョン2)と記載されています。

おそらく、V2はすぐに引っ込めたのでしょう。
コメント欄を見ていると、V2はどうも不評だったようです。
そして、V3が急いでUPされたという流れだと想定できます。
その結果、タイトルの更新が漏れたということです。
推測に過ぎませんけどね。
ダウンロードしたファイルの利用方法は、それぞれの環境で異なります。
- Stable Diffusion web UI(AUTOMATIC1111版)
- Diffusers
それぞれの場合を以下で説明します。
Stable Diffusion web UI(AUTOMATIC1111版)
web UIのインストールは、次の記事で説明しています。

ダウンロードしたファイルを指定のディレクトリ(models/Stable-diffusion)に設置するだけです。
web UIの起動後、以下のようにcheckpointを選択できるようになっています。

Diffusers
Diffusersの場合は、少し工夫が必要となります。
まずは、Stable Diffusionを動かす環境を用意します。

上記記事に従えば、自ずとDiffusersをインストールすることになります。

Diffusersの場合、そのままではダウンロードしたモデルを読み込めません。
そのため、Diffusersで利用できるように変換処理を行う必要があります。
ファイルの変換処理は、次の記事で解説しています。
safetensors形式に限らず、ckpt形式でも同じように対応可能です。

今回変換に用いたのは、以下のコマンドになります。
python convert_diffusers20_original_sd.py ..\..\ckpt\braBeautifulRealistic_brav3.ckpt ..\..\model\braBeautifulRealistic_brav3 --v1 --reference_model runwayml/stable-diffusion-v1-5
変換に成功すると、次のようなディレクトリ・ファイルが作成されます。
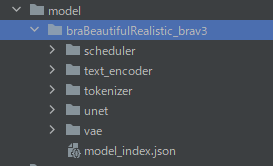
ここまで準備できたら、あとは次のコードで画像生成が可能です。
from diffusers import StableDiffusionPipeline, EulerAncestralDiscreteScheduler

model_id = "./model/braBeautifulRealistic_brav3"

pipe = StableDiffusionPipeline.from_pretrained(model_id)
pipe.scheduler = EulerAncestralDiscreteScheduler.from_config(pipe.scheduler.config)
pipe = pipe.to("cuda")
# pipe.enable_attention_slicing()

prompt = "Korean with long black hair wearing a red shirt and a red polka dot blouse with long black hair"
negative_prompt = "(low quality, worst quality:1.4),"

image = pipe(
    prompt,
    num_inference_steps=25,
    guidance_scale=7,
    width=512,
    height=768,
    negative_prompt=negative_prompt
).images[0]

image.save("test.png")
以上、BRAの利用方法を説明しました。
次は、BRAの動作確認を説明します。
BRAの動作確認
BRAの動作確認を行います。
折角なので、BLIPを用いて画像からプロンプトを取得してみましょう。

BLIPで取得できるテキストは、以下。
an asian woman in a sweater leaning against a wall
これなら、Interrogate CLIPを利用した方がよさそうです。

同じ画像を対象にして、テキストを取得した結果は以下。
Interrogate CLIP
a woman with long hair standing next to a building and looking at the camera with a smile on her face, Chizuko Yoshida, sakimi chan, a character portrait, orphism
Interrogate DeepBooru
1girl, 3d, asian, black_hair, blurry, blurry_background, blurry_foreground, bokeh, building, chain-link_fence, city, closed_mouth, cosplay_photo, depth_of_field, deviantart_username, fence, fishnet_legwear, fishnets, indoors, lips, long_hair, looking_at_viewer, motion_blur, net, photo_\(medium\), photorealistic, racket, realistic, skyscraper, solo
BLIPよりも、画像を詳細に表現したプロンプトですね。
では、それぞれ出力できたプロンプトを用いて画像を生成してみましょう。
ネガティブプロンプトは、「bad-hands-5,EasyNegative,ng_deepnegative_v1_75t」を利用しています。
ネガティブプロンプト用のEmbeddingについては、次の記事で説明しています。
BLIP

Interrogate CLIP
Interrogate DeepBooru
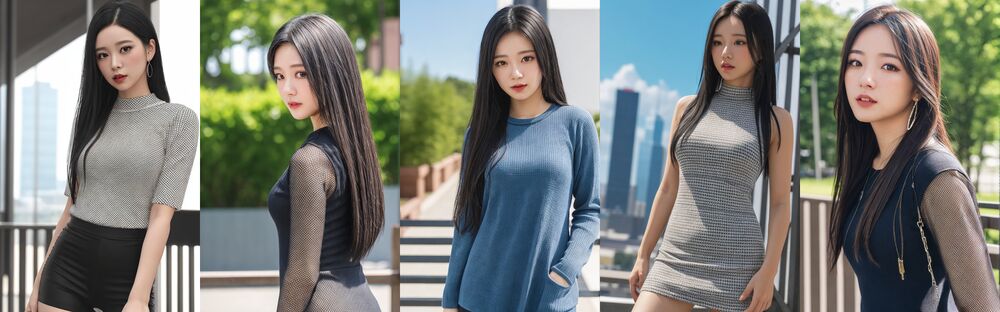
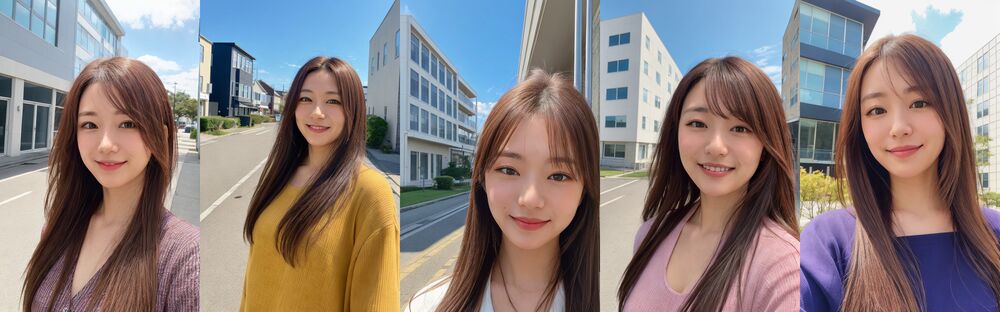
結果を見て、どうでしょうか?
それぞれで特徴があって、興味深い結果になりました。
それはそうと、BRAの表現力にも注目しましょう。
プロンプトが異なるとは言え、BRAはこれだけ様々な女性を表現できています。
この結果を見ると、以下の可能性は決してゼロではないでしょう。
「ChilloutMixの次はBRAが来る」
以上、BRAの動作確認を説明しました。