
「VirtualBoxやVMwareで仮想環境を構築するのが難しい・・・」
「Windows 11で仮想環境を簡単に利用したい」
このような場合には、Vagrantがオススメです。
この記事では、Windows 11にVagrantをインストールする方法を解説しています。
本記事の内容
- Vagrantとは?
- Vagrantのダウンロード
- Windows 11へのVagrantのインストール
それでは、上記に沿って解説していきます。
Vagrantとは?
Vagrantとは、仮想環境の構築から設定までを自動的に行うためのソフトウェアです。
よく勘違いするところですが、Vagrant自体は仮想化ソフトウェアではありません。
Vagrantは、あくまで仮想化ソフトウェアを便利に利用するためのツールです。
仮想化ソフトウェアは、以下のモノが対象になります。
- VirtualBox
- VMware
VirtualBoxやVMware単体で仮想化を構築するのは、そこそこ複雑です。
特に、ネットワーク周りはそれなりの知識が必要となります。
でも、Vagrantを使うとそのあたりの苦労・知識は不要です。
本当にvagrantコマンド一つで、サクッと仮想環境が構築できます。
さらには、Vagrantはサーバー環境も対象にしています。
- AWS
- OpenStack
仮想化もサーバー環境も、ある意味同じようなものですからね。
あと、Vagrantにはアプリマーケットのようなモノが用意されています。
Discover Vagrant Boxes
https://app.vagrantup.com/boxes/search
上記サイトでは、設定ファイルを検索することができます。
その設定ファイルを利用すれば、すぐに望む環境を構築することが可能です。
例えば、Ubuntu 20.04を構築したいとします。
「Ubuntu 20.04」を検索ボックスに入れて、検索しましょう。
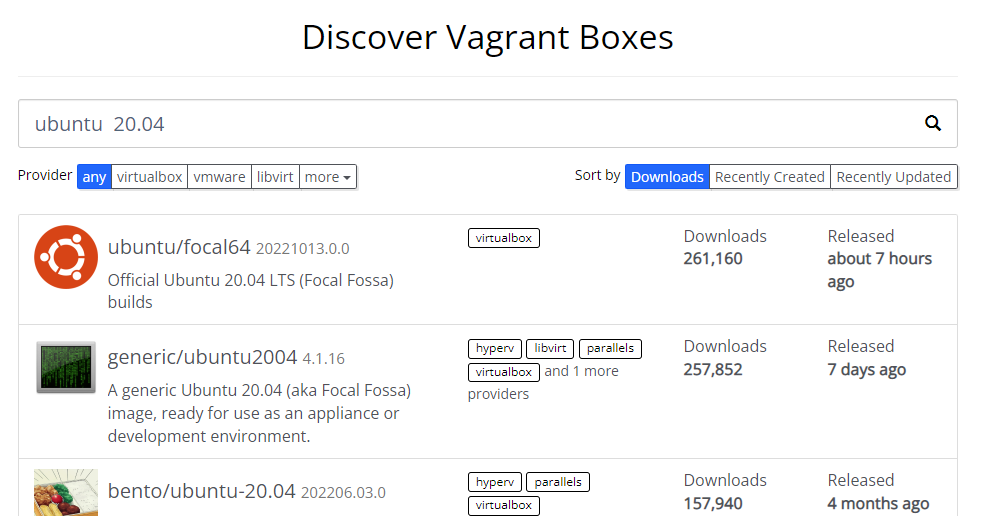
検索結果から、各自が望む設定ファイルを選択します。
最もダウンロードされている「ubuntu/focal64」を選択。
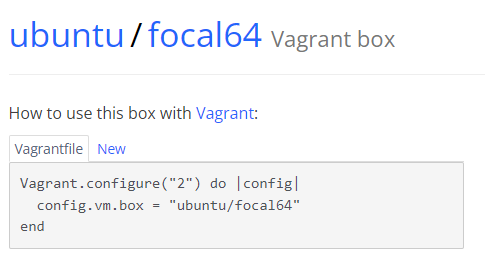
「Vagrantfile」は設定ファイルの内容になります。
完全新規であれば、次のコマンドを実行します。
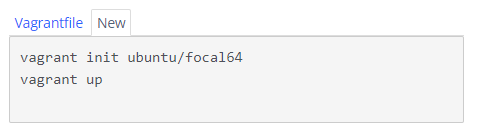
これだけで、Ubuntu 20.04の仮想環境を構築することができます。
以上、Vagrantについて説明しました。
次は、Vagrantのダウンロードを説明します。
Vagrantのダウンロード
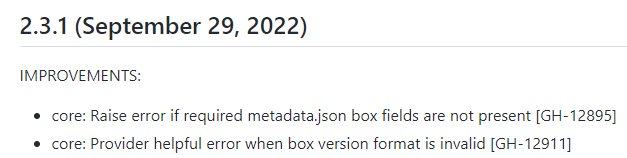
2022年10月14日時点での最新バージョンは、2.3.1です。
バージョン2.3.1は、2022年9月29日に公開されています。
Vagrantのダウンロードは、次のページへアクセスします。
Downloads | Vagrant by HashiCorp
https://www.vagrantup.com/downloads
このページでは、OSを選択可能です。
そして、初めからOSは選択されています。

おそらく、ブラウザのUserAgentから判別しているのでしょう。
Windows 11のChromeでアクセスした場合のUserAgentは、以下。
Mozilla/5.0 (Windows NT 10.0; Win64; x64) AppleWebKit/537.36 (KHTML, like Gecko) Chrome/106.0.0.0 Safari/537.36
OSの選択はいいのですが、次のどちらかを選択する必要があります。
- Amd64
- 686
これは、CPUのアーキテクチャです。
Windowsであれば、コマンドプロンプトで確認できます。
set processor
上記コマンドを実行します。
私の環境では、次のように表示されました。
C:\Users\win11>set processor
PROCESSOR_ARCHITECTURE=AMD64
PROCESSOR_IDENTIFIER=Intel64 Family 6 Model 151 Stepping 2, GenuineIntel
PROCESSOR_LEVEL=6
PROCESSOR_REVISION=9702
ARCHITECTUREには「AMD64」と記載されています。
よって、「Amd64」のダウンロード画面で選択します。
保存先は、デスクトップにでもしておきましょう。
上記ファイル名で保存されました。
以上、Vagrantのダウンロードを説明しました。
次は、Windows 11へのVagrantのインストールを説明します。
Windows 11へのVagrantのインストール
ダウンロードしたmsiファイルを実行します。
実行すると、次の画面が立ち上がります。

「Next」ボタンをクリック。

規約の同意画面です。
「I accept the terms in the License Agreement」にチェックを入れます。
チェックを入れると、「Next」ボタンが押せるようになります。
「Next」ボタンをクリック。

Vagrantのインストール先の選択画面です。
デフォルトのまま、「Next」ボタンをクリック。

インストールの最終確認画面です。
設定に問題なければ、「Install」ボタンをクリック。
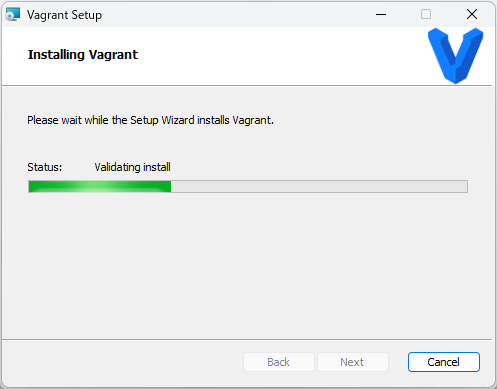
Vagrantのインストールが、始まります。
インストール処理には、数分程度の時間がかかります。
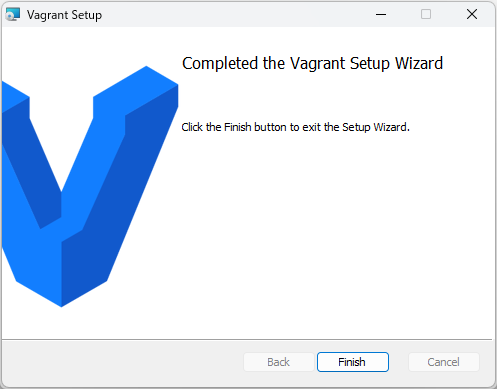
処理が終了したら、「Finish」ボタンをクリック。
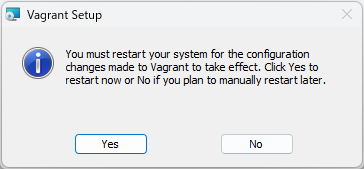
Vagrantのインストールを完了させるには、OS再起動が必要となります。
起動中のソフトがあれば、それらを閉じましょう。
準備が整ったら、「Yes」ボタンをクリック。
ボタンをクリックすると、OSの再起動が実施されます。
OS再起動後、vagrantコマンドが利用できるようになっています。
まずは、コマンドプロンプトかPowerShellを立ち上げます。
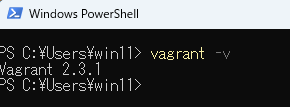
次のようにコマンドを実行します。
vagrant -v
インストールしたVagrantのバージョンを確認できます。
vagrantコマンドのヘルプは、以下となります。
> vagrant -h
Usage: vagrant [options] <command> [<args>]
    -h, --help                       Print this help.
Common commands:
     autocomplete    manages autocomplete installation on host
     box             manages boxes: installation, removal, etc.
     cloud           manages everything related to Vagrant Cloud
     destroy         stops and deletes all traces of the vagrant machine
     global-status   outputs status Vagrant environments for this user
     halt            stops the vagrant machine
     help            shows the help for a subcommand
     init            initializes a new Vagrant environment by creating a Vagrantfile
     login
     package         packages a running vagrant environment into a box
     plugin          manages plugins: install, uninstall, update, etc.
     port            displays information about guest port mappings
     powershell      connects to machine via powershell remoting
     provision       provisions the vagrant machine
     push            deploys code in this environment to a configured destination
     rdp             connects to machine via RDP
     reload          restarts vagrant machine, loads new Vagrantfile configuration
     resume          resume a suspended vagrant machine
     serve           start Vagrant server
     snapshot        manages snapshots: saving, restoring, etc.
     ssh             connects to machine via SSH
     ssh-config      outputs OpenSSH valid configuration to connect to the machine
     status          outputs status of the vagrant machine
     suspend         suspends the machine
     up              starts and provisions the vagrant environment
     upload          upload to machine via communicator
     validate        validates the Vagrantfile
     version         prints current and latest Vagrant version
     winrm           executes commands on a machine via WinRM
     winrm-config    outputs WinRM configuration to connect to the machine
For help on any individual command run `vagrant COMMAND -h`
Additional subcommands are available, but are either more advanced
or not commonly used. To see all subcommands, run the command
`vagrant list-commands`.
        --[no-]color                 Enable or disable color output
        --machine-readable           Enable machine readable output
    -v, --version                    Display Vagrant version
        --debug                      Enable debug output
        --timestamp                  Enable timestamps on log output
        --debug-timestamp            Enable debug output with timestamps
        --no-tty                     Enable non-interactive output
この中でよく利用するのは、以下のオプションです。
- init
- up
- halt
- ssh
以上、Windows 11へのVagrantのインストールを説明しました。